If you are a new embroiderer or perhaps consider yourself an “expert” there are always tips and tricks we can learn to perfect our machine embroidery techniques.
I don’t want to get into the “how to” of machine embroidery at this time, but I’d like to show you some tips and tricks I’ve learned and used along the way.
Jump stitches
Jump stitches are important to cut. Leaving them in can have the thread underneath getting attached to your feed dogs, and then holding the stabilizer and fabric into place, so you end up having a bunch of fabric and stabilizer in the darning foot and most likely a broken needle. You do not always have to cut jumps, but it’s a good habit to get into. It’s something you just learn when to do it and when not to do it along the way.
Cutting Small Areas
When you have small sections such as eyebrows, cutting them can be difficult. You need a fine point pair of scissors to get in between the cut area or in my case I use a seam ripper.
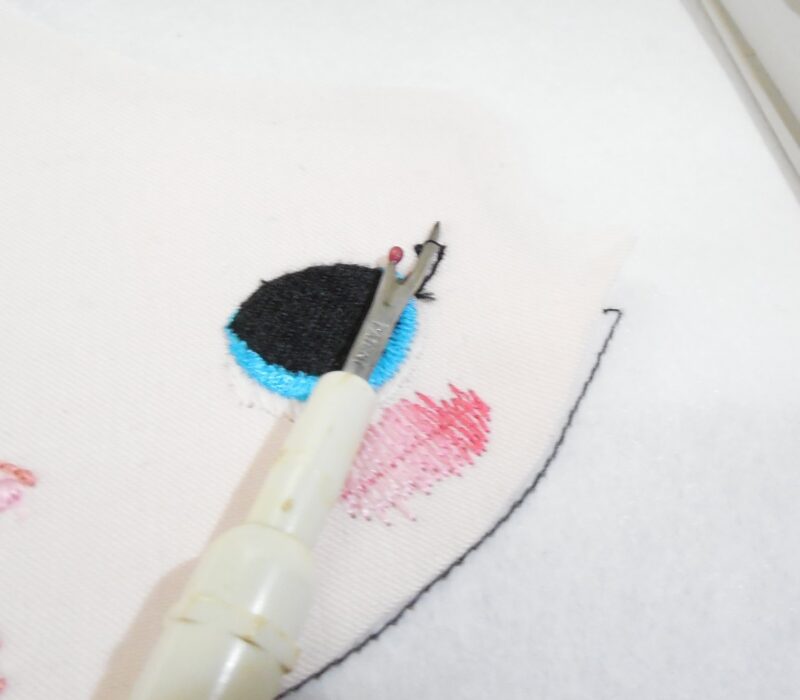
I will cut the one side, then use very fine point scissors to cut the other side. When the shapes are this fine tho, on the back, I do not cut them.
While these are not necessarily scissors, these are very nice, a bit pricey, but still really nice.
Bobbin Thread
With machine embroidery, you need alot of bobbin thread. Get in the habit of filling alot of bobbins all at the same time.
Yes, you can purchase pre-filled bobbins, but you need to know the size your machine takes for these.
I love pre-filled bobbins, but at the same time, I prefer to just do my own. With all my sewing machines, I have about 100 bobbins for each of them, so I use them instead of buying pre-filled bobbins.
I do not mind filling bobbins up.
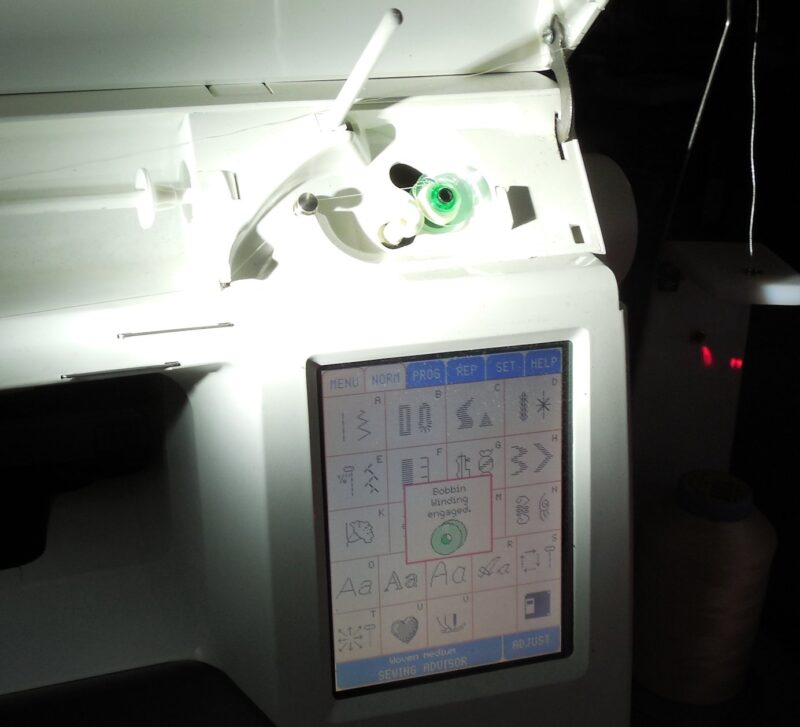
I make sure my bobbin is on correctly. This is important with any machine brand you own. A badly wound bobbin can cause more problems than one can possibly image. Learn how to wind bobbins correctly.
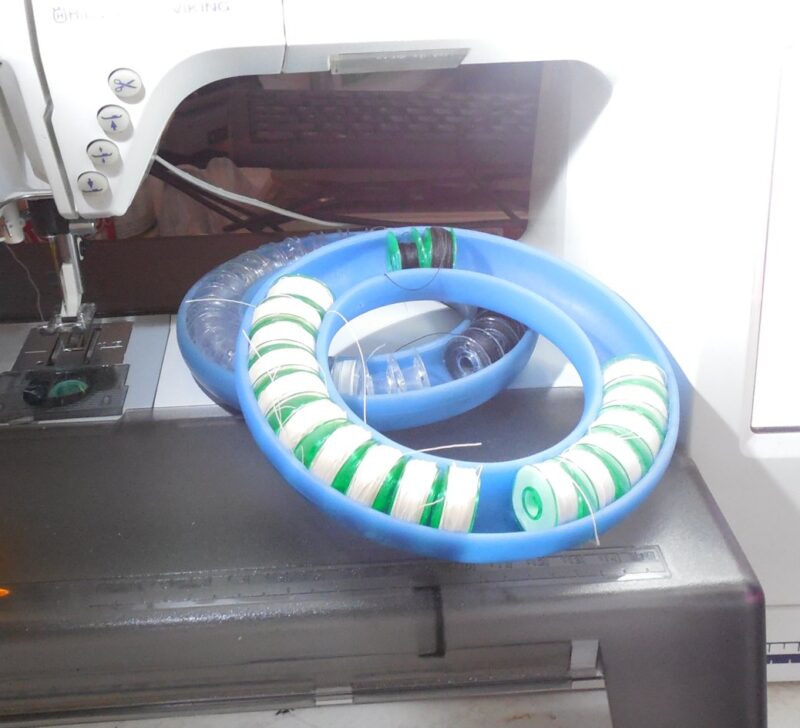
I have one of these bobbin storage cases for each of my machines. I also have an extra for other colors.
My Viking machine uses a green bobbin, my Ult uses a plastic bobbin with no color and my bernina bobbins are metal, so it’s quite easy to distinguish them all apart.
I don’t like the idea of storing my bobbins with the thread. The reason being, I could potentially run out of bobbins doing this, so I choose to store them all together.
My Bernina machine does not have the ability to tell me it’s running out of thread in the bobbin. I don’t mind that really, yes it’s frustrating to run out while stitching, but because I always pre-wind a bunch of bobbins all at once, I just pop another one in and go.
However, my Ult and my Viking machines both have low bobbin warnings. I usually ignore them, but watch. With my D1 it’s not so important, because I do not do embroidery on this machine at all.
However, when you are machine embroidering, it is more important to watch. Like I said, I ignore it if I’m stitching along because you always have thread still left in the bobbin. So I am always hopeful their is enough to get to the next color stop. I will then switch it. What happens tho is that I might still have enough left on the bobbin to use. It can be frustrating, but I do like to empty my bobbins, so I will end up putting them up on the top and threading them thru the needle, thus I can use them up. You can do this in machine embroidery as well, especially in the case where your just stitching out placement lines.
Rolled Stabilizers
It is quite common to buy stabilizer on the roll. I know some people like precut sheets, but I prefer the roll.
With the roll tho, you cut off a piece to use and you have that rolling thing going on kind of like wrapping paper.
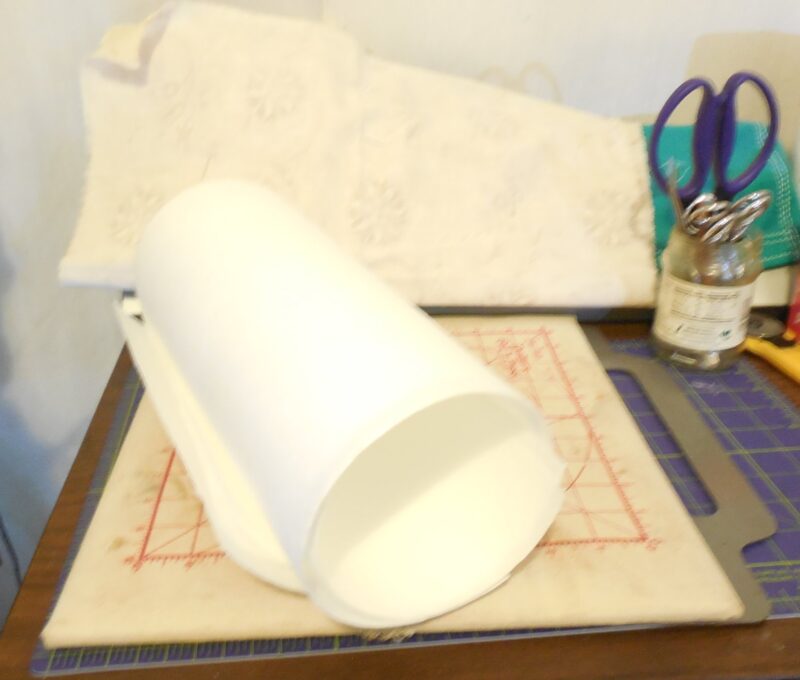
So I flatten mine.
I am not using a book and waiting 24 hours to do it, I use an iron.
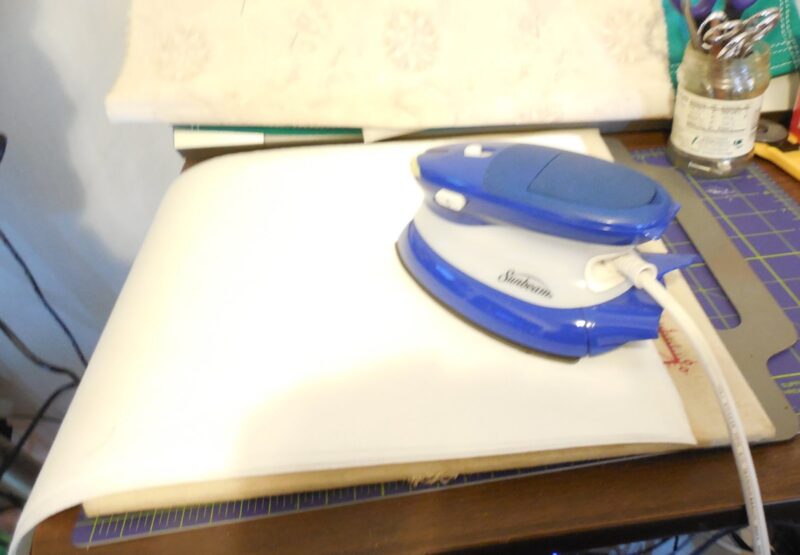
Whether I cut one piece of stabilizer or 20, I will take a few sheets at a time (I’ve done up to 5 at a time), and lay it down so the rolling area is on the bottom. I then put my iron on Low heat, and press it.
I do both ends of the stabilizer, and I turn it around and do the other.
It works, it flattens it out easily and when I’m placing it in the hoop it goes much better than having the ends rolling around on me.
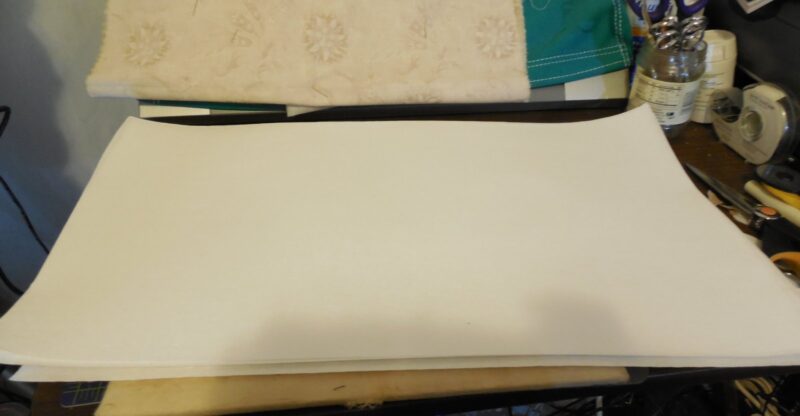
I tend to use 12-inch wide stabilizer in my 6-inch wide hoop. I do this because I hoop my stabilizer. Not everyone likes to hoop there stabilizer, but in the technique on my site for doing the outlines, you don’t have a choice, you must hoop the stabilizer.
I use wider stabilizer because it’s easier to hoop and if I need to “tug” a bit to get it taut then I have room to do so.
After I am sure it’s taut, I then cut around it.
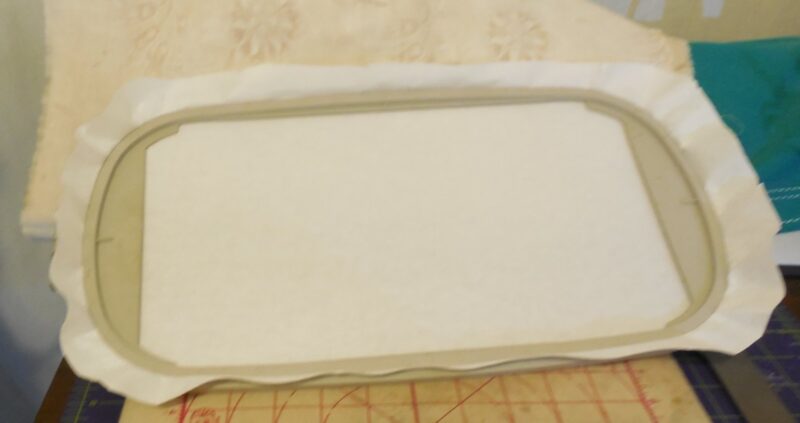
That way I can see easily in my hoop, cut jumps, add additional fabrics or shapes and the stabilizer is in not danger of getting stitched into the hoop.
Prewash Fabric
Always prewash your fabric whenever possible. If the fabric content is 100% cotton and you embroider on it before it is washed, the fabric will shrink around the design, causing puckering and warping.
Thread Trimming
Although it may seem tedious, we recommend clipping thread jumps in between color changes. It is often easier and produces a better result than waiting until the design is completed and many of the jump stitches are partly stitched over.
Hooping
Never stretch the fabric when hooping because when the embroidery is completed and the hoop removed the fabric will return to its original shape, causing puckering around the outer areas of the design. Use the smallest hoop that will accommodate the design. If you use a hoop too large this will also result in fabric distortion and puckering. Always remember to hoop the fabric tightly but not taut and never tighten the screws on the hoop after the fabric is hooped.
Test Sewing
Because of the sheer number of factors which can negatively impact the quality of your embroidered designs, we highly recommend that you first test sew each design on a scrap piece of the same type of material that you plan to use for your project. By doing this you will be able to make adjustments, (stabilizer, hooping, thread tension, etc…) if needed, to assure that the design will stitch out correctly on the material that you intend to use for your project.
Choosing the Right Design for the Fabric and Project
Many embroiderers forget that some designs work better than others on certain types of fabric. Choosing an appropriate design for the fabric and application can make a huge difference in the quality of the finished project.
As a general rule, lighter-weight fabrics and fabrics that need to drape require lighter, more open designs to avoid drooping and puckering. Fabrics with a high nap, like thick towels, require more dense designs so that the stitches don’t get lost in the fabric.
Choosing the Right Needle and Thread for the Fabric
Don’t use sewing thread or standard sewing needles for embroidery as they may harm the embroidery machine and produce undesirable stitchouts.
Using the right needle is almost as important as using the right stabilizer. For most fabrics, a medium-sized (75/11 or 90/14) embroidery, universal, or sharp needle will work well. More delicate fabrics require a smaller needle. For stretchy fabrics, always use a ball-point needle to avoid runs in the fabric around the design. For specialty applications like leather and denim, use a special needle that is designed for that purpose. There are also special needles for thicker threads and metallic threads that will minimize thread breakage and shredding.
Using Spray Adhesive for Embroidery
It seems that people will avoid using spray adhesives because of horror stories they’ve heard about clogging up machines. This is very far from the truth about some spray adhesives. Conversely, not every spray adhesive which can be purchased is good for your machine. However, there are a few good ones on the market that have been recognized in the industry as not only working very well but do not clog up your machine. Always choose a brand name spray adhesive that is clearly marked for embroidery machine use.
If you have a paper pattern for your applique, you can use spray adhesive to keep your pattern secure to the fabric during cutting and placing. This allows you to spray the adhesive on the back of the pattern and place it on the right side of your fabric. Once your fabric is cut, leave the pattern on the fabric to give your fabric more stability while placing it on the stitching line of your applique. Just spray the wrong side of the fabric, place it on the stitching line and gently pull the pattern off the fabric. The fabric will stay in place and you haven’t stretched it out of shape.
Spray adhesive can also be used to position garments or items that cannot be hooped. These can include caps, purses, bags or small items that are smaller than your smallest hoop. Simply hoop a piece of stabilizer, preferably a cut-away, and spray your item to be sewn. Place it in the hoop just as you would if you had hooped it and sew as usual. Your item should stay in place as you sew.
I know I have other tips I haven’t thought to place here yet and as I do, I’ll update this page.
Here are some other sites that give Machine Embroidery Tips:
- Embroidery Library
- Flying Needle
- ABC Embroidery
This is one of the best “How To Hoop” lessons I have seen on Youtube.
Note: Using the print options for this page will not load the video themselves into the pdf or the print file, but will give you the links that you can visit to view the videos.
